


Contact form
Build a contact form, choose its fields, write the notification email with smart tags, send the visitor a confirmation and add them to a mailing list.
A Contact form sends you an email for every message. It can also confirm receipt to the visitor and, with their consent, add them to a mailing list.
Create the form#
- Go to Wing Popup → Forms and click Add New Form.
- Name the form and set Form Type to Contact form.
Fields#
On the Fields tab:
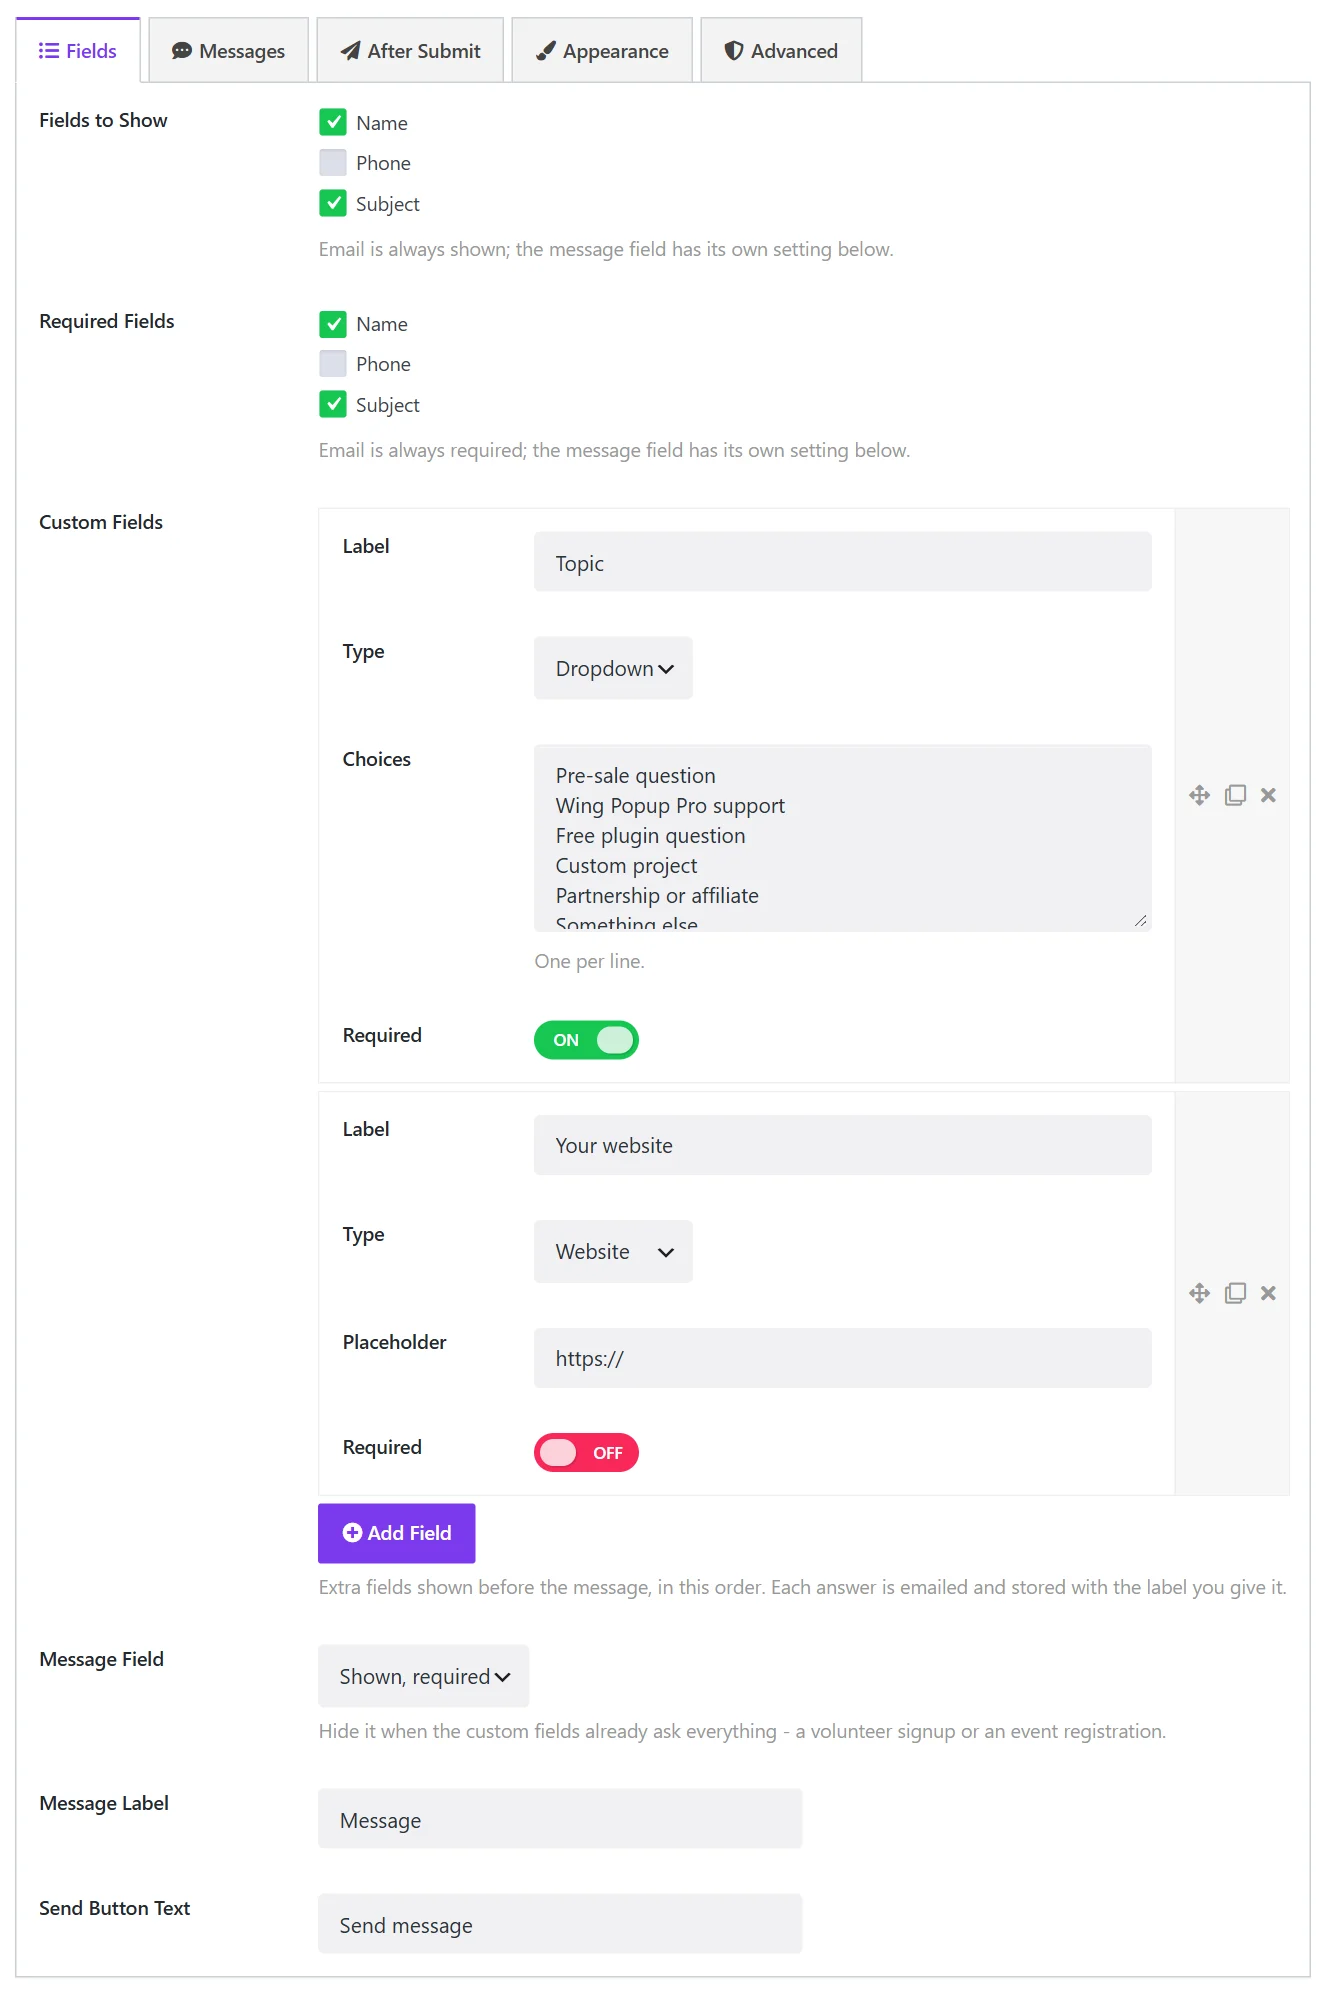
| Field | What it does |
|---|---|
| Fields to Show | Name, Phone, Subject. Email is always shown. |
| Required Fields | Which of those must be filled in. Email is always required. |
| Custom Fields Pro | Extra fields of your own. See Pro form types and custom fields. |
| Message Field | Shown, required (default), Shown, optional or Hidden. |
| Message Label | The label of the message field. |
| Send Button Text | Send message by default. |
Hide the message field when the other fields already ask everything, for example a callback request or an event registration.
The notification email#
On the After Submit tab, Email Me Each Submission sends you each message.
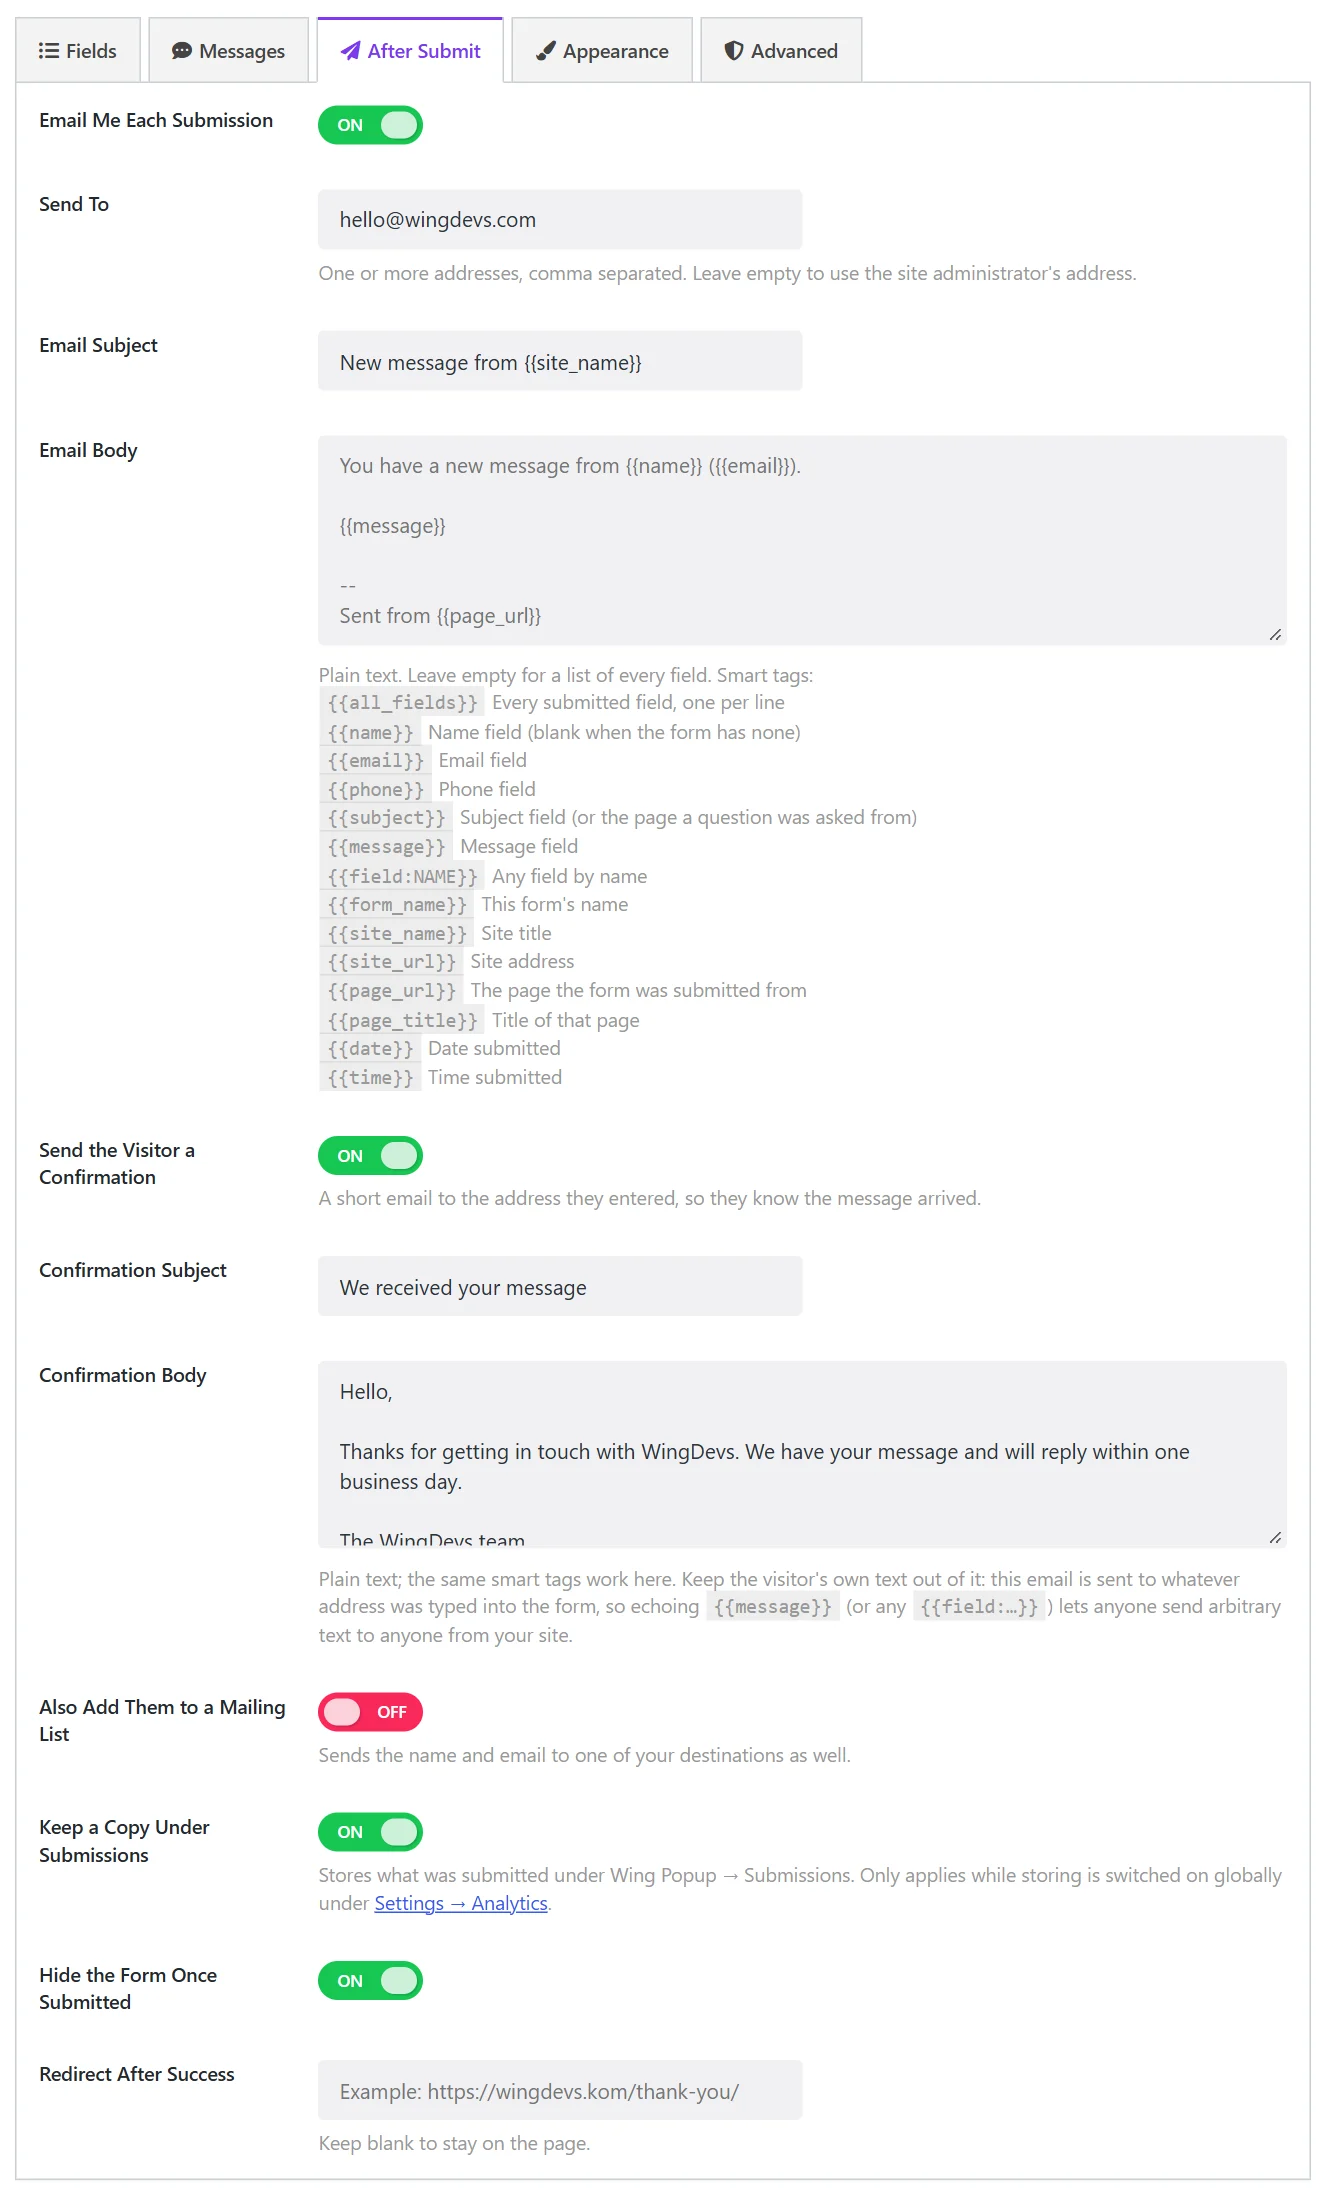
| Field | What it does |
|---|---|
| Send To | One or more addresses, separated by commas. Leave empty to use the site administrator's address. |
| Email Subject | New message from {{site_name}} by default. |
| Email Body | Plain text. Leave empty for a list of every submitted field. |
The reply address of the notification is the visitor's email, so you can answer by pressing Reply.
Smart tags#
Smart tags are replaced by the submitted values. Use them in the subject and the body.
| Tag | Replaced by |
|---|---|
{{all_fields}} |
Every submitted field, one per line |
{{name}}, {{email}}, {{phone}}, {{subject}}, {{message}} |
That field's value |
{{field:NAME}} |
Any field by its name |
{{form_name}} |
The form's name |
{{site_name}}, {{site_url}} |
Your site's title and address |
{{page_url}}, {{page_title}} |
The page the form was submitted from |
{{date}}, {{time}} |
When it was submitted |
You have a new message from {{name}} ({{email}}).

{{message}}

--
Sent from {{page_url}}
A confirmation for the visitor#
Send the Visitor a Confirmation emails a short receipt to the address they entered.
| Field | What it does |
|---|---|
| Confirmation Subject | We received your message by default. |
| Confirmation Body | Plain text. The same smart tags work. |
Keep the visitor's own text out of the confirmation. This email goes to whatever address was typed into the form, so repeating {{message}} or a {{field:…}} tag would let anyone send text of their choice to any address from your site. Use the confirmation for a fixed message of yours.
Add them to a mailing list#
Also Add Them to a Mailing List sends the name and email to one of your email services as well.
| Field | What it does |
|---|---|
| Destination | The email service. |
| Mailchimp Audience (or the list of another service) | Where they are added. |
| Consent Checkbox Text | Shown as a tick box in the form; the visitor is added only if they tick it. Yes, email me occasional updates. by default. |
Leaving the consent text empty removes the box and adds everyone. Adding people to a list without asking is what consent laws forbid, so keep the box.
After a successful submission#
| Field | What it does |
|---|---|
| Keep a Copy Under Submissions Pro | Stores the message under Wing Popup → Submissions. See Form submissions. |
| Hide the Form Once Submitted | Replaces the form with the success message. |
| Redirect After Success | Sends the visitor to a page. Leave empty to stay. |
If emails do not arrive#
Wing Popup hands every email to WordPress, which sends it through your server. Many hosts do not deliver such mail reliably, or at all.
- If WordPress refuses to send, an administrator sees a notice in the dashboard with the reason, and a logged-in administrator testing the form sees it in the form's error message.
- The dependable fix is an SMTP plugin (FluentSMTP, WP Mail SMTP) connected to a real mail service. It takes a few minutes and fixes every email your site sends.
- Check the spam folder, and make sure Send To is an address you can open.
With Pro, switch on stored submissions as a safety net: the message is saved before the email is attempted, so it is never lost. See Troubleshooting.
Did this not answer your question?
Send us what you are trying to do and we will help, and improve this page.