


Installation
Install and activate Wing Popup, add Wing Popup Pro, and check that your site meets the requirements.
Requirements#
- WordPress 6.5 or newer
- PHP 7.4 or newer
- Wing Popup Pro needs the free Wing Popup plugin installed and active. Pro adds to the free plugin; it does not replace it.
Install the free plugin#
- In your WordPress dashboard go to Plugins → Add New Plugin.
- Search for Wing Popup.
- Click Install Now, then Activate.
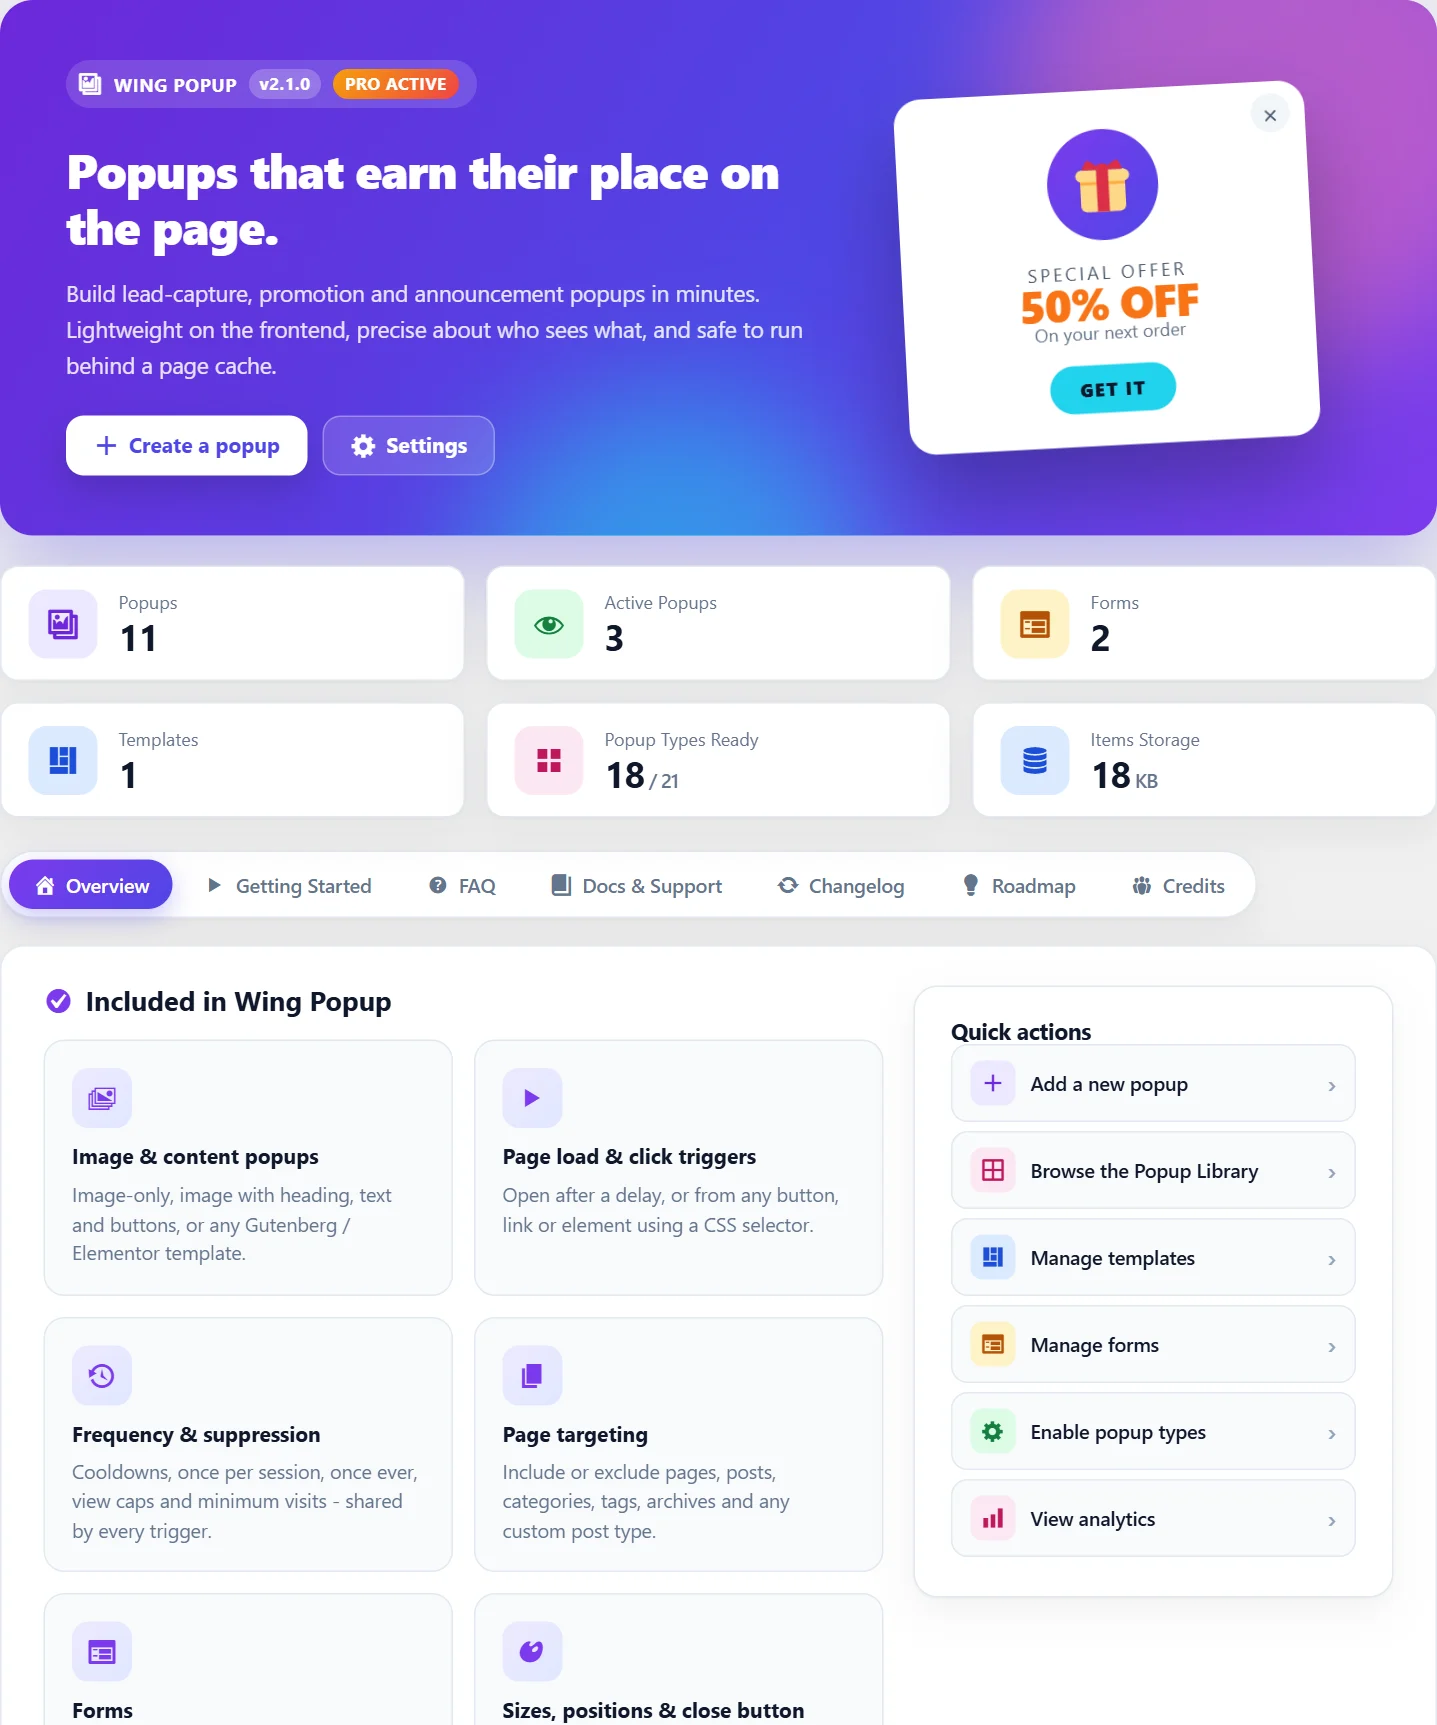
A Wing Popup menu appears in the dashboard sidebar. Its first screen, Overview, shows your popup counts and quick links.
Install from a zip file#
If you downloaded the plugin as a zip file:
- Go to Plugins → Add New Plugin → Upload Plugin.
- Choose the zip file and click Install Now.
- Click Activate Plugin.
Install Wing Popup Pro#
- Download the Wing Popup Pro zip file you received with your purchase.
- Go to Plugins → Add New Plugin → Upload Plugin, choose the file and click Install Now.
- Click Activate Plugin.
Keep the free plugin active. When Pro is active, the Overview header shows a Pro Active badge, the (Pro) marks disappear from the settings, and the Analytics and Submissions screens join the menu.
If you deactivate Pro later, nothing is lost. Every Pro setting stays stored, and popups that need Pro are simply not shown until Pro is active again.
Updating#
Updates arrive through the normal WordPress Plugins screen. Your popups, forms and settings are kept across updates. When you run both plugins, update the free plugin first and Pro second.
Uninstalling#
Deleting the plugin keeps your data by default, so a reinstall picks up where you left off. To remove everything, switch on Settings → General → Delete All Data on Uninstall before you delete the plugin. See General settings.
Next step#
Did this not answer your question?
Send us what you are trying to do and we will help, and improve this page.